
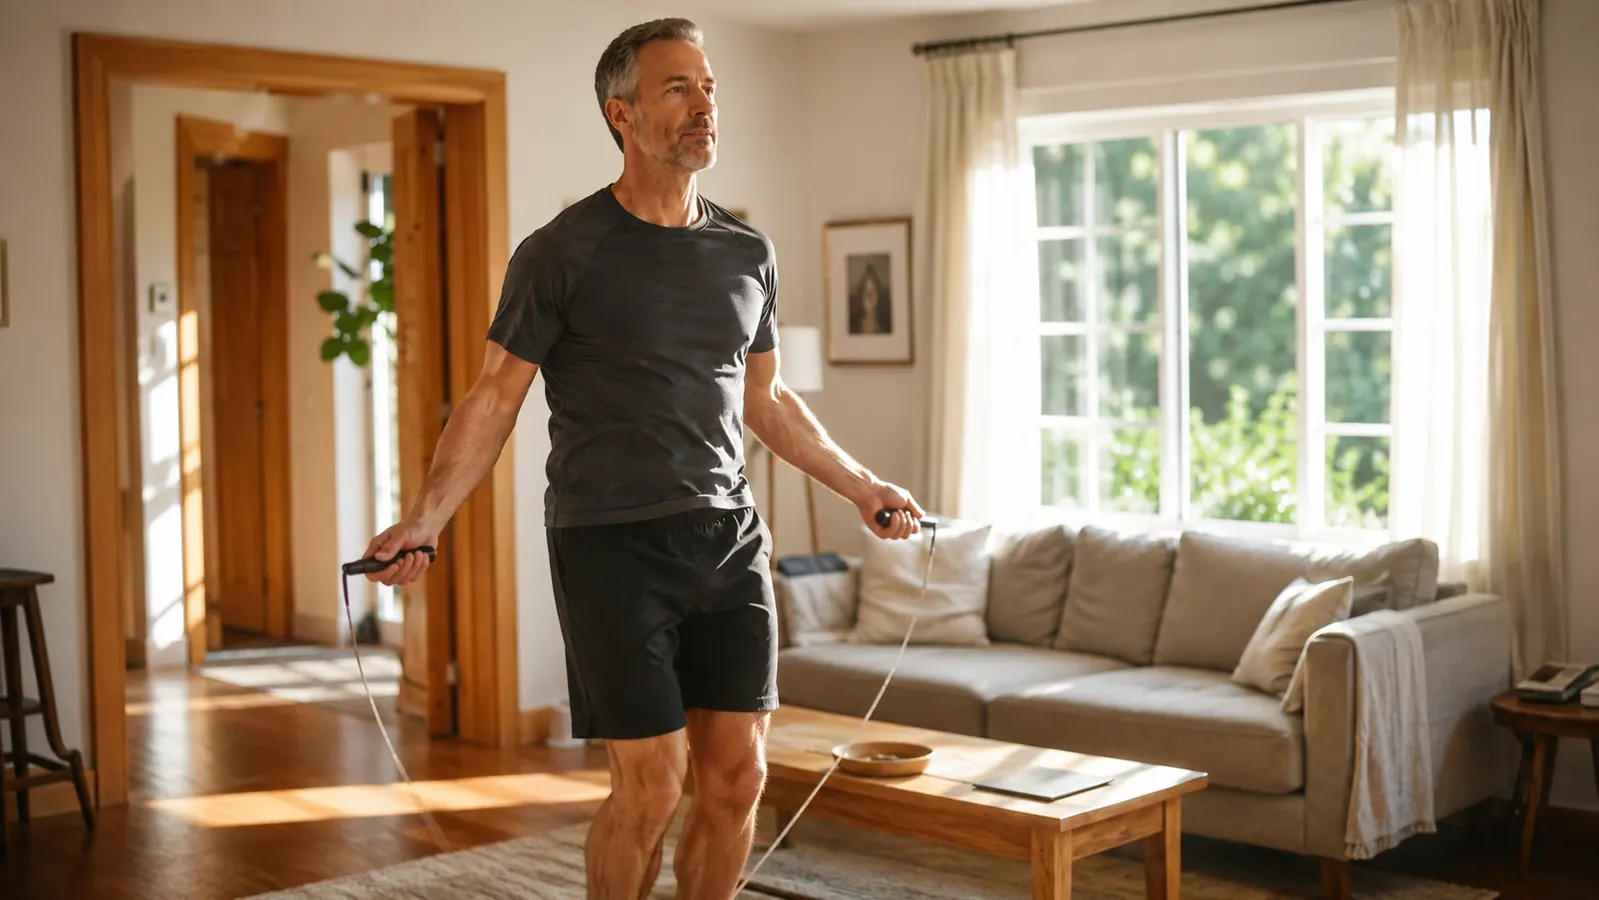
When you exercise in your living room because you are the one who stays home, the cardio question comes up fast. A treadmill takes up too much space and costs too much for a machine you might not stick with. A stationary bike from Facebook Marketplace squeaks after three weeks and ends up in the garage. Running outside is not realistic when your wife needs you nearby and you cannot count on having 45 uninterrupted minutes. So what do you do for your heart and lungs when your whole workout area is a 6x6 foot patch of floor between the couch and the TV stand?
I spent months bouncing between half-solutions. Walking in place during TV shows. Burpee circuits that I hated so much I stopped doing them after day four. A used exercise bike that I sold for less than I paid for it. What finally stuck was a jump rope. Specifically a SPORTBIT adjustable jump rope that I ordered on a Tuesday afternoon because I was tired of having no cardio answer that fit my life. It cost about the same as a coffee shop lunch. That was eight months ago, and I have missed fewer than ten days since. This guide covers exactly how to start, what you need, and how to build a jump rope routine that works in a small space.
The Rope That Made This Possible
The SPORTBIT Adjustable Jump Rope costs about the same as a coffee shop lunch and comes with ball bearings in the handles so it spins smoothly even at higher speeds. It adjusts from 9 feet to 10.5 feet so you can cut it down to exactly your height, and the steel cable is coated with PVC so it holds up on indoor floors.
Amazon Check Today's Price on Amazon →Step 1: Choose the Right Rope and Adjust It to Your Height
The single biggest reason people quit jump rope in the first week is that their rope is the wrong length. A rope that is too long drags on the floor and trips you up. A rope that is too short makes you hunch your shoulders and miss constantly. Neither feels like the rope is the problem. Both feel like you cannot jump rope.
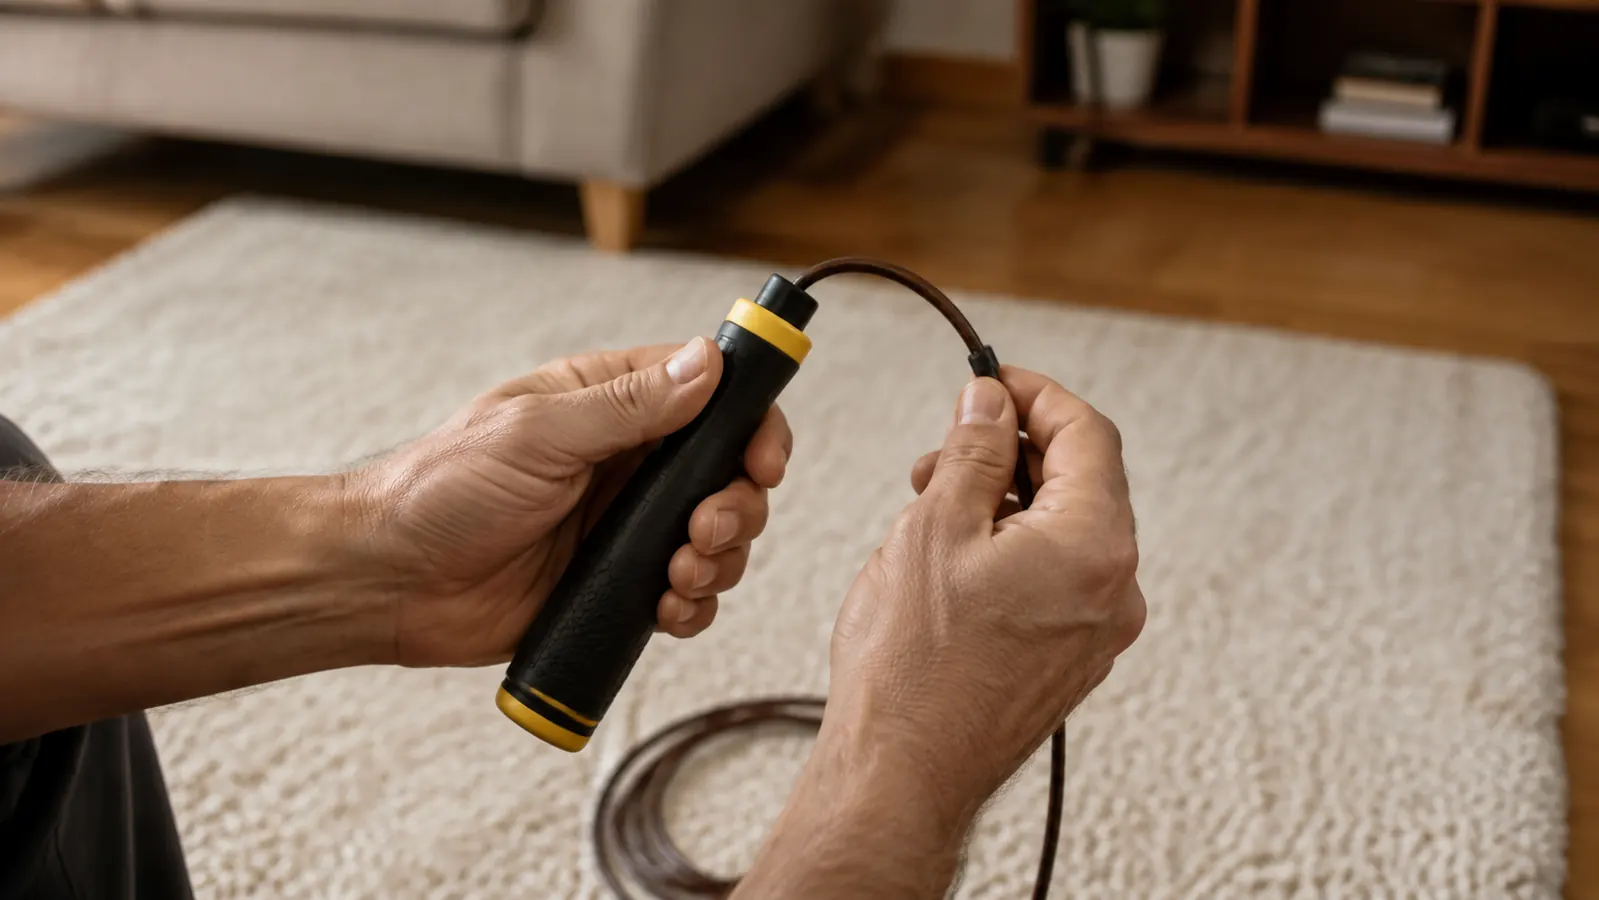
Here is the sizing test that works every time. Step on the middle of the rope with one foot. Pull the handles straight up along your body. The handles should reach somewhere between your armpit and your shoulder. If they come up to your ear, the rope is too long. If they only reach your waist, it is too short. The SPORTBIT rope comes with a cutting guide printed on the packaging, which saves you from guessing. You cut the PVC-coated cable with wire cutters or heavy scissors, knot the end, and feed it back through the handle. It takes about two minutes.
One tip I learned the hard way: start longer than you think you need and shorten it a little at a time. You can always cut more off, but you cannot add it back. I cut mine to where the handles hit my chest on the first try and found it slightly long after two weeks. A second trim of about two inches made a noticeable difference in how cleanly the rope cleared my head.
Step 2: Learn the Basic Bounce Before You Try Anything Fancy
Before you attempt crossovers, double unders, or any footwork you see on Instagram, spend your first few sessions doing nothing but the basic two-foot bounce. Stand with your feet together, elbows pinned to your ribs at about a 90-degree angle, handles pointing slightly outward. Turn the rope with your wrists, not your whole arms. Big arm circles will wear you out in 30 seconds. Small wrist flicks keep you going for minutes.
Jump just high enough for the rope to pass under your feet. I mean barely. A quarter of an inch is plenty. Beginners almost always jump too high, which lands harder on the joints and burns energy you need for building stamina. Land softly on the balls of your feet with your knees slightly bent. Heels should barely touch the ground. You are looking for a light, springy feel, not a thud.
Here is a drill that helped me more than any video tutorial. Set a timer for 30 seconds. Jump as slowly as you can while keeping the rope turning. The goal is to avoid tripping, not to go fast. Rest 30 seconds. Repeat five times. Do this for the first week. It builds the neuromuscular coordination for the wrist-flick foot-timing dance without overwhelming your lungs or your shins. I did this in front of the TV during the evening news. My wife watched and laughed the first night. By night three I could go a full minute without missing.
Step 3: Build Your Stamina With Simple Intervals
Once the basic bounce feels natural, the temptation is to try jumping for five straight minutes. Do not do this. Jump rope is deceptively taxing because it engages your entire body at once. Your calves, shoulders, core, and lungs all hit their limit around the same time, and that limit comes much faster than you expect.
I built my stamina using a 1-to-1 work-to-rest ratio that I found in a boxer's warmup routine online. Jump for 60 seconds, rest for 60 seconds. Repeat for 10 rounds. That is 20 minutes total, 10 minutes of actual jumping. I did this three times a week for two weeks before I tried extending the work interval. After two weeks I moved to 90 seconds of jumping with 45 seconds of rest. After a month I was doing 2-minute rounds with 30 seconds of rest.
The SPORTBIT rope's ball bearing handles make a real difference here. A rope with no bearings gets twisty and kinked as you speed up, which causes missed jumps and breaks your rhythm. The ball bearings keep the cable spinning cleanly even when you are tired and your form gets sloppy. At its price point that feature alone is what separates it from the discount-store ropes that snap or tangle after a week.
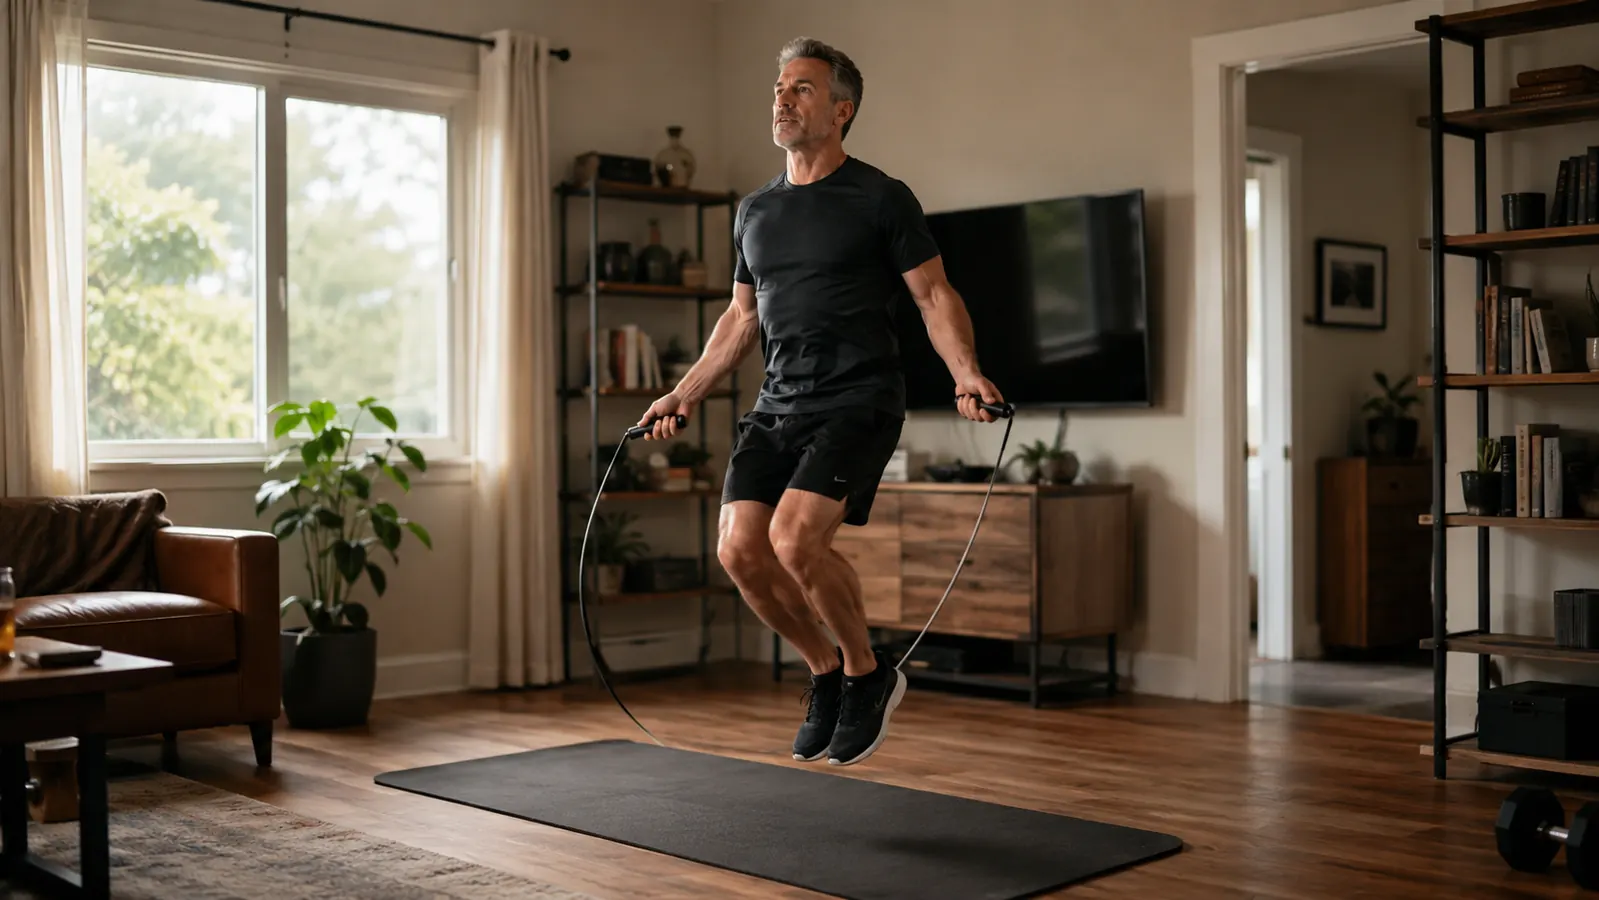
A practical note about surfaces. If you have hardwood or tile floors, a mat makes a big difference. I jump on a thick exercise mat that I already owned for floor workouts. The cushioning saves your joints, and the mat gives you a visible boundary so you know when you are drifting out of your space. If you do not have a mat, a scrap of carpet works well.
Step 4: Put Together Your First 10-Minute Routine
When you are ready to move past pure intervals into a structured workout, here is the exact 10-minute routine I started with and still use as a warmup on strength days. Do not change it until you can finish without skipping a rest. Warm up for one minute by jumping at a very slow pace, barely breaking a sweat. Then do five rounds of the following: jump at a moderate pace for 60 seconds, rest for 20 seconds. The 20-second rest is short enough that your heart rate stays elevated but long enough to shake out your arms and reset your position.
After the five rounds are done, cool down for one minute by stepping side to side over the rope without actually jumping, then set the rope down and stretch your calves and shoulders for two minutes. That is the entire workout. It takes 10 minutes plus two minutes of stretching, and it raises your heart rate higher than 30 minutes on the treadmill at a brisk walk.
The key is consistency, not intensity. I did this exact 10-minute routine five days a week for the first six weeks. Some days I was tired and the moderate pace was very moderate. That still counted. What matters is that the rope hits the floor on schedule. The days I felt worst were the days I needed it most, and every single time I finished feeling better than when I started.
Step 5: Progress Safely Without Overdoing It
Jump rope is high impact. That is a good thing for bone density and cardiovascular conditioning, but it also means your lower body needs time to adapt. The most common beginner mistake is adding too much volume too fast. Shin splints, Achilles tenderness, and plantar fascia irritation all come from the same root cause: you jumped more times than your connective tissue was ready for.
The rule I follow is the 10 percent rule. Do not increase your total jump time by more than 10 percent in a single week. If you jumped 50 minutes total in week one, aim for 55 minutes in week two. This sounds slow and it is deliberate. I pushed too hard in month two and developed a sore spot on my right shin that cost me five days of rest. That was a setback born entirely from impatience. The slow ramp-up is the fast path in the long run.
Listen specifically to your feet and shins. If you feel a sharp pain rather than muscle fatigue, stop and take two full rest days. If the pain persists after rest, take a week off and switch to non-impact cardio like walking or resistance band circuits. The rope will be there when you come back. Your shins will not heal faster if you keep jumping on them.
The slow ramp-up is the fast path. I pushed too hard in month two and lost five days to a shin splint. The rope will be there when you come back.
What Else Helps
A jump rope is almost all you need, but a few extras make the experience noticeably better. Good shoes matter more than you think. Jump rope is all forefoot landing, so look for shoes with cushioning in the forefoot rather than the heel. Cross-training shoes work better than running shoes here because running shoes have a thick heel that can throw off your balance. If you have a pair of court shoes or cross-trainers, use those.
A timer or interval app takes the mental load off. I use the timer on my phone set to vibrate. When it buzzes, I rest. When it buzzes again, I jump. That is the whole decision tree. No counting, no wondering how much time is left. The simpler you make the logistics, the more likely you are to actually do it.
Stretching is non-negotiable. I spend two minutes on my calves and shoulders after every session. A foam roller on the calves once a day has helped me avoid the shin tightness that stopped me the first time I tried jumping rope years ago. And drink water before you start, not during. A 10-minute session does not need a water break. Splitting your focus with a sip every round breaks the flow.
Ready to Start? This Is the Rope
The SPORTBIT Adjustable Jump Rope costs about the same as a coffee shop lunch, comes with ball bearing handles, adjusts to any height, and has almost 10,000 reviews on Amazon. You will not find a lower-cost or lower-friction way to start jumping rope at home. I bought mine eight months ago and it still looks and spins like new.
Amazon Check Today's Price on Amazon →